Wednesday, November 11, 2020

Calling all coffee lovers!

Calling all coffee lovers!  This card is made into a shaker with the beautiful papers from Unity Stamp Company, Coffee Lovers Pattern Paper. I actually used the front page of the paper pack to create this shaker card!  I also used this awesome stencil by A Colorful Life Designs called Big Blot and made it look like a coffee stain. I used my Cricut and the glitter copper vinyl for the "Calling all". The inside is blank for your own sentiment.


Tuesday, November 10, 2020

Coffee: A Hug in a Mug!

Day 5 of the Coffee Loving Card Makers Hop!  I'm bringing to you another card created with that beautiful patterned paper from Unity Stamps!  Simple but to the point as coffee to coffee lovers all around the world, is a hug in a mug!  Once again I went to my Cricut machine and created the mugs for this card.  I also cut out the sentiment for the front of this card and cut it out in black vinyl.  I also used glitter vinyl in copper to create the hearts for the first mug.  Added a few gems and we have a card!  Inside sentiment reads:  "Because adulting is hard".  Am I right?!

Please check out the hop for more great cards and inspiration!  Thanks for stopping by!!
 

Monday, November 9, 2020

Coffee: Day 4 Coffee Blog Hop

Today is Day 4 of the Coffee Loving Card Makers Hop!  We're back with the digital papers that I used from Taylor Made Cards 4U!  Using her papers and ephemera to create this vintage card.  I used Tim Holtz distress ink in Vintage Photo to distress all around the edges of the background and ephemera.  Brought in some jute to create the finishing touch for our card and there you have it!  I left the inside blank for any occasion.  Please check out the hop for more great cards and inspiration!  Thanks for stopping by!!


Sunday, November 8, 2020

Coffee Blog Hop Day 3

Today is Day 3 of the Coffee Loving Cardmakers.  

What's better than coffee?  It's coffee & friends of course!!  I created this card with adorable coffee patterned paper from Unity Stamps, rightly called, Coffee Lovers Paper Pack!  This cute card is perfect to send for any occasion and include a nice gift card for coffee of course!  I popped up the sentiment that I printed out with my Cricut machine on glitter vinyl in copper.  Inside sentiment says, "a cup of cheer".  


Saturday, November 7, 2020

Coffee Blog Hop Day 2

 Today is Day 2 for the Coffee Blog Hop! I realize that I neglected to leave a link for the hop on my post from yesterday (OOPS!!) It's being hosted over at Coffee Loving Cardmakers and you will find so many amazing cards and inspiration!  For today's card I created this pretty in pink tea card.  I dug out some pattern paper I've  had for quite a long time and thought they really brought this card together!  I inked the edges of the sentiment and added Nuvo Drops as accents.  Let me know what you think!


Friday, November 6, 2020

Coffee Blog Hop

I am participating in what seemingly is an annual coffee, tea, and cocoa  blog hop.  Well I LOVE coffee, tea, cocoa and I love making cards, so this seems like a match made in heaven!  What more can a gal ask for?!  I love using vintage papers, distressing and making things look older than they are. I have always had a flair for vintage and when I came across these amazing digital vintage papers and ephemera, the cards I was able to create were pretty cool if you ask me.  This is a week long hop so each day I will  post a different card that will be themed with either coffee, tea or cocoa and today it's a tea and coffee theme!


I don't know about you but during the winter here in the states, I tend to drink more hot tea, especially in the evening. I enjoy a nice hot cup of chamomile that helps me unwind and relax just before bed.  Thanks for stopping by to check out my blog post, I would love it if you would post a comment and let me know what you think and maybe even follow!  Have a great day!

Thursday, October 29, 2020

Throwback Thursday Technique - Chalking & Color blocking

 Time for another issue of Throwback Thursday Technique!  This week we will be looking at chalking and color blocking.  Color blocking was (maybe still is?) popular with scrapbooking however, we are going to see it used to create cards!  Most crafters I know seem to grow a collection of scraps of leftover papers from projects. We hang onto the because we know that 'one day' we will use them!  If you read my blog post on Masculine Cards, then you would know that I am the type of crafter that likes to use up as much paper scrap as she can. That being said, it's not always possible on every project and thus, we have scraps!

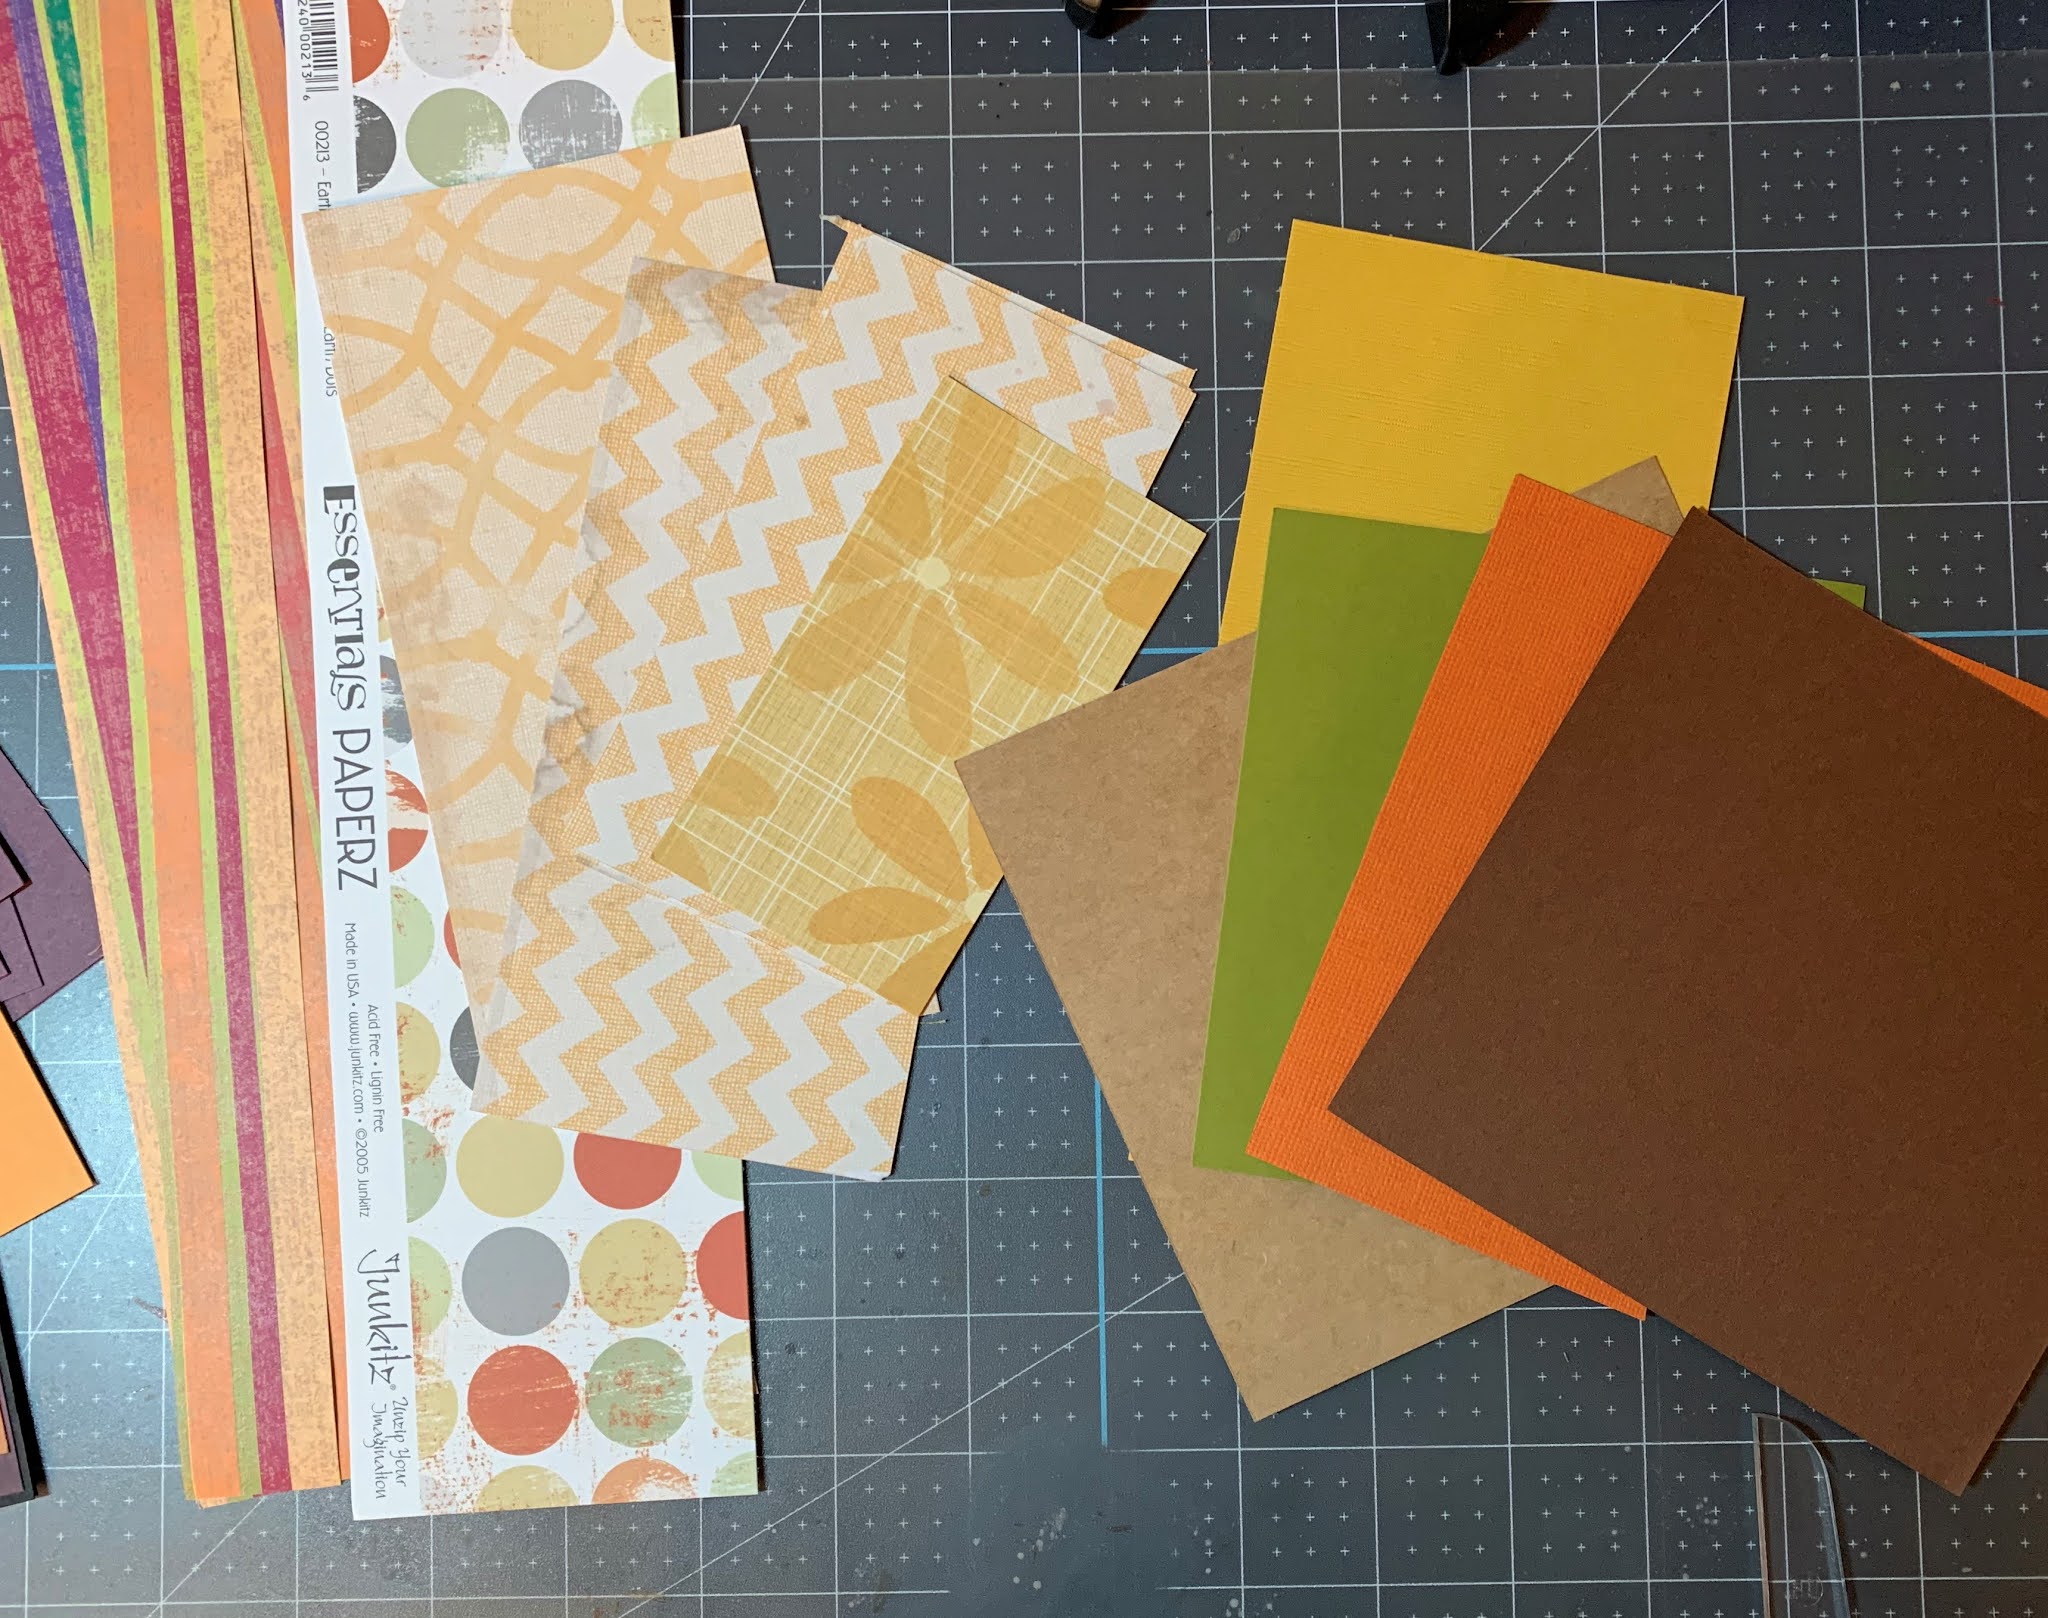
For a color blocking technique I find this to be one of the best ways to use up scrap paper, both solids and patterns.  Start with a theme, usually directed by your color choices, for this installment I'm going with fall colors, after all it's still October!  Grab a nice array of papers, it's important to use scraps but occasionally you'll need to bring in other papers like a card base and possibly a card front. I created 6 cards, 4 of those cards I used all scrap pieces with the exception of the card base. For the last 2 cards I used pre-cut 4"x5.25" white card fronts. Regardless which way you go, start with any piece of scrap and place it on your card front, the important step in the process is to try and not alter that scrap to much. You will need to adjust to size as necessary and maybe even trim an edge or two to even it up, but the whole point to color blocking is just that, blocks of color!

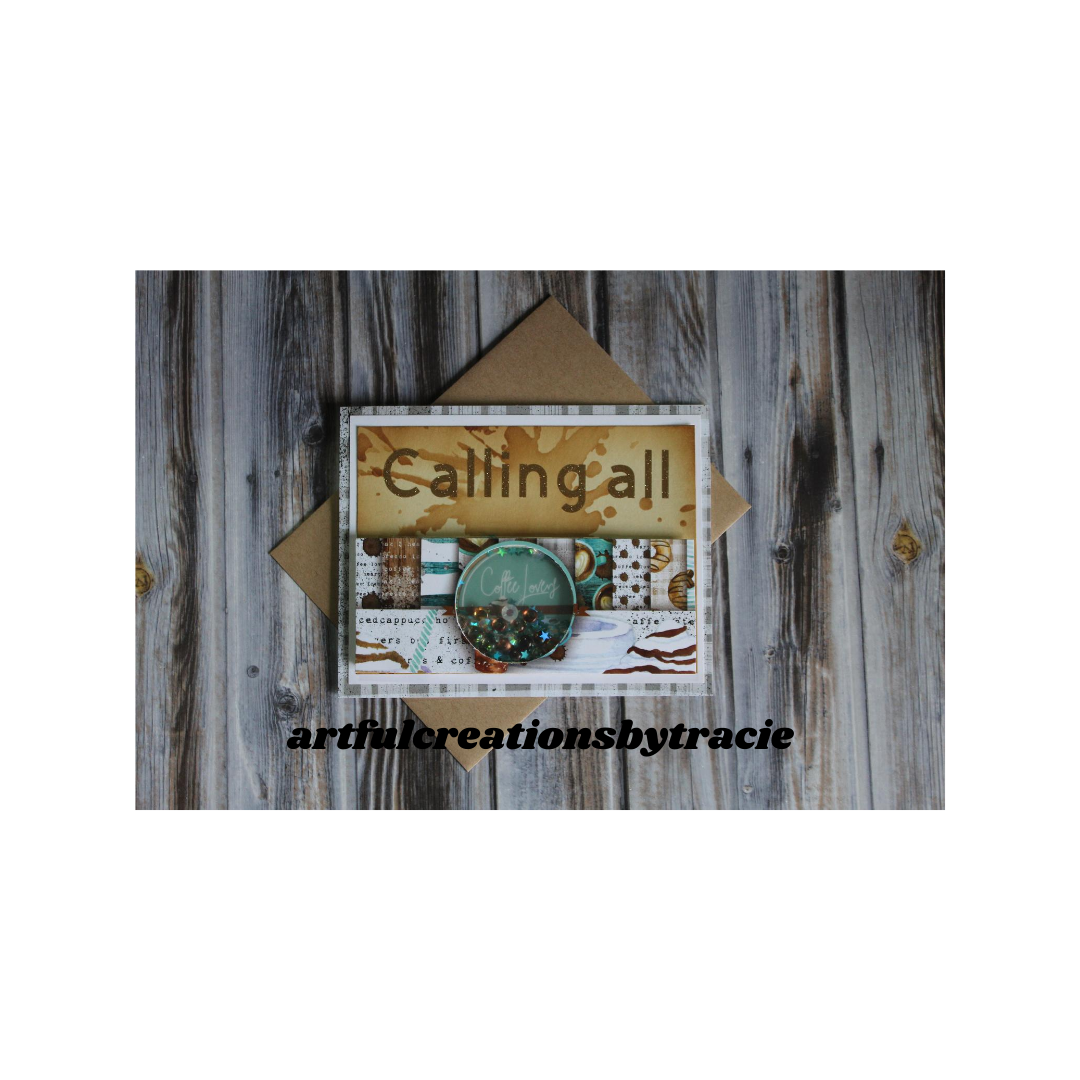
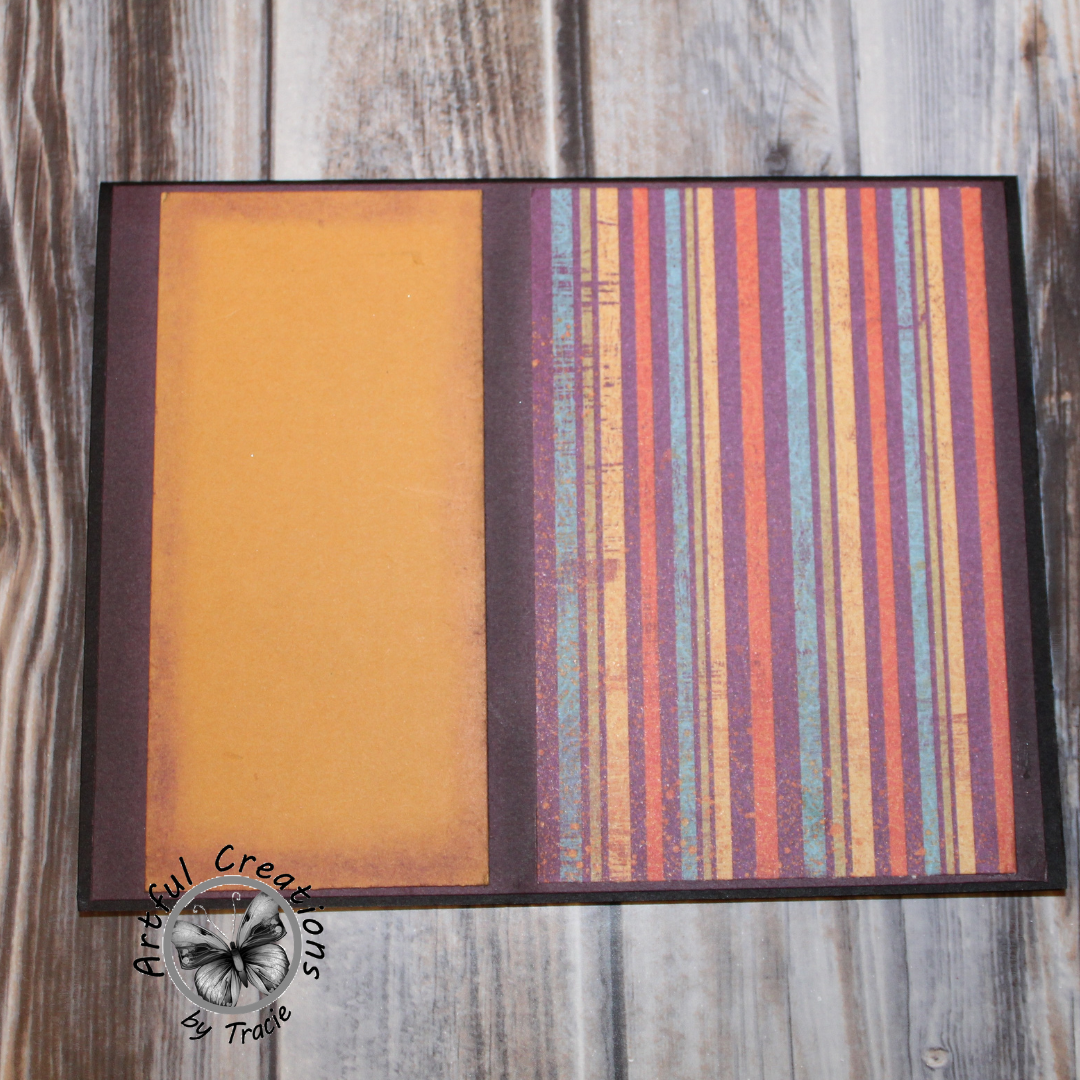
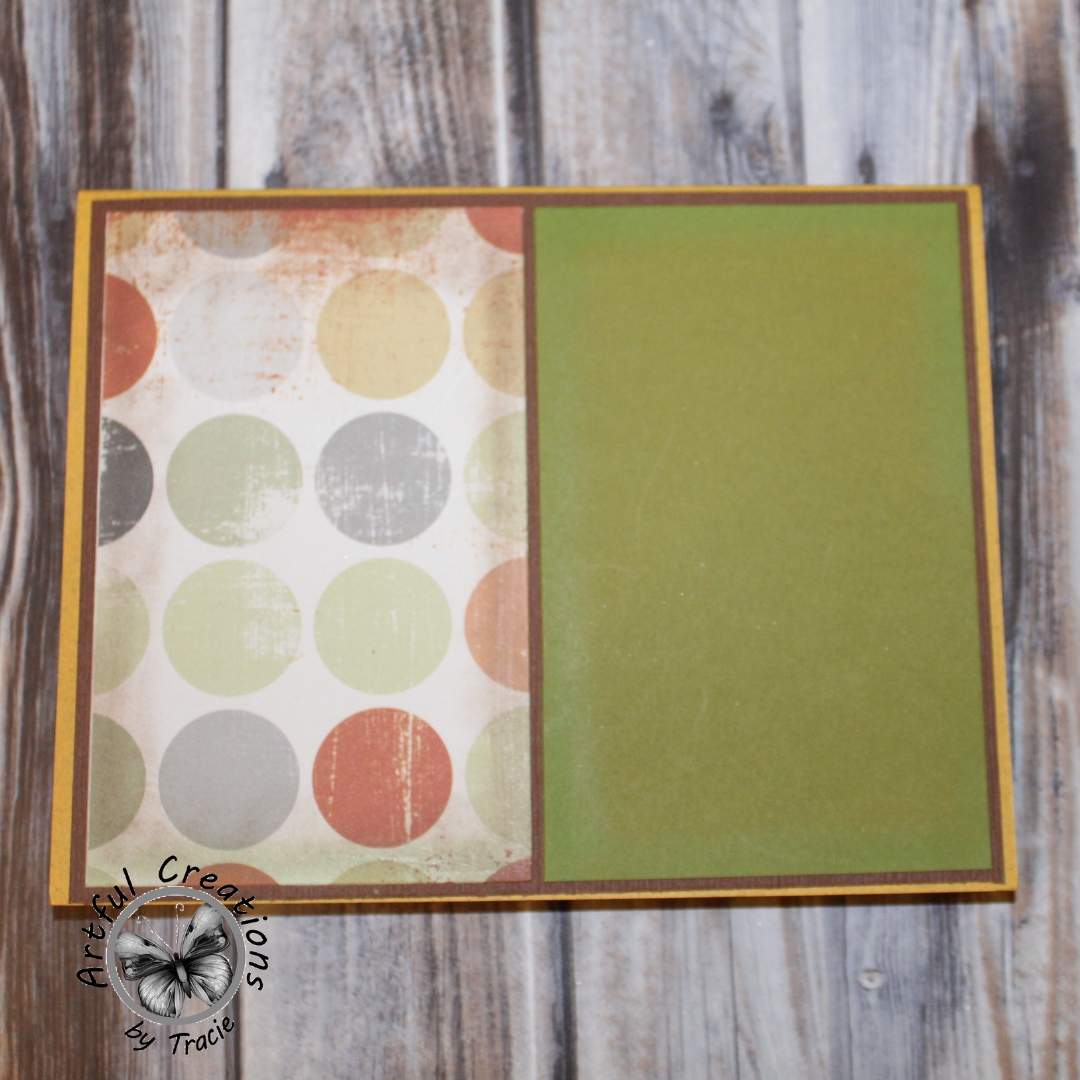
For my first two cards it was simple, the scraps I had barely needed any adjustment and they fit side by side giving this card a solid along a piece pattern paper, easy peasy really!  


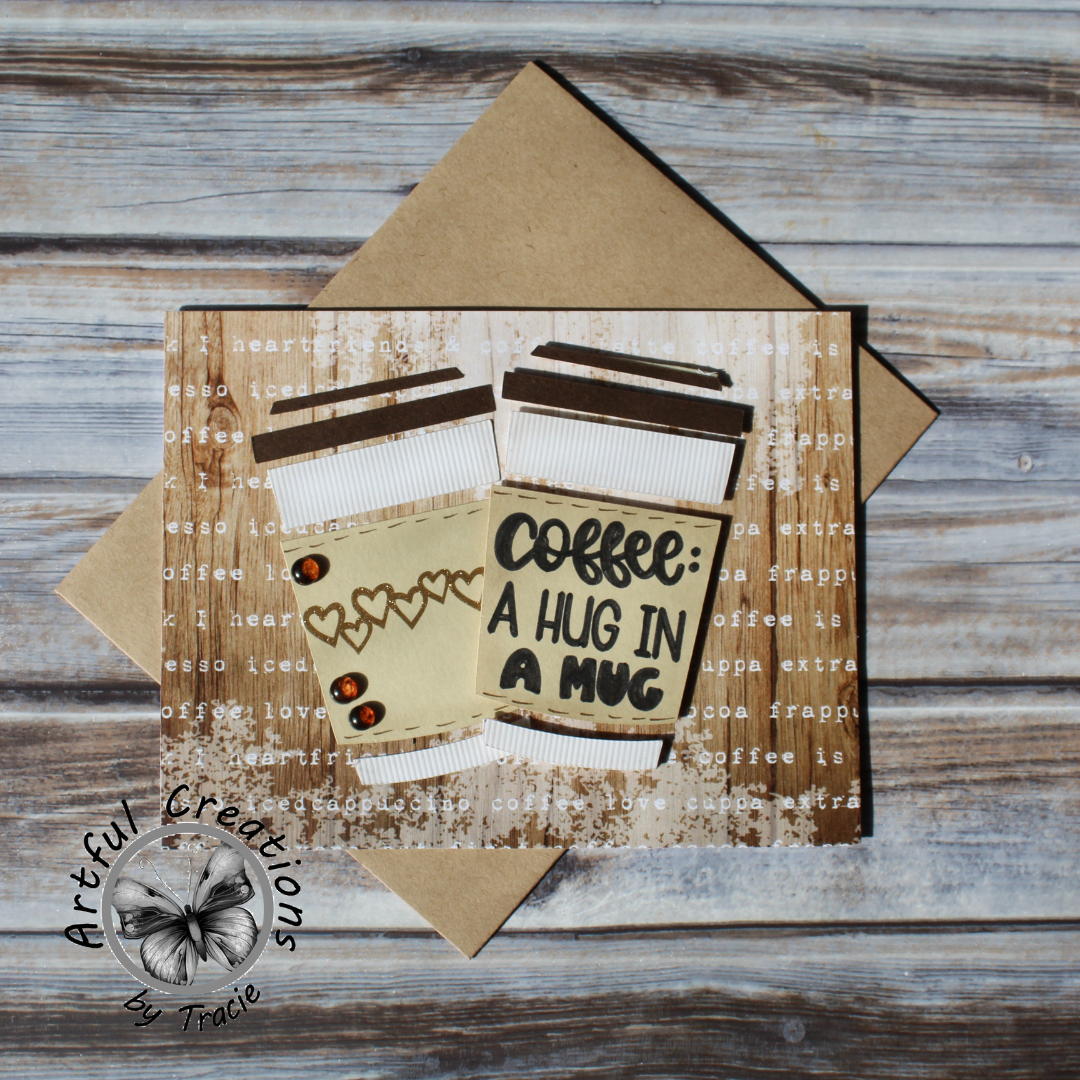
For my next two cards the process was just about the same with the exception of the second card, I trimmed two pieces of solid cardstock to give it a block look and then added a strip of the pattern paper that was already a perfect size and match, I only needed to trim it down to fit the card front.


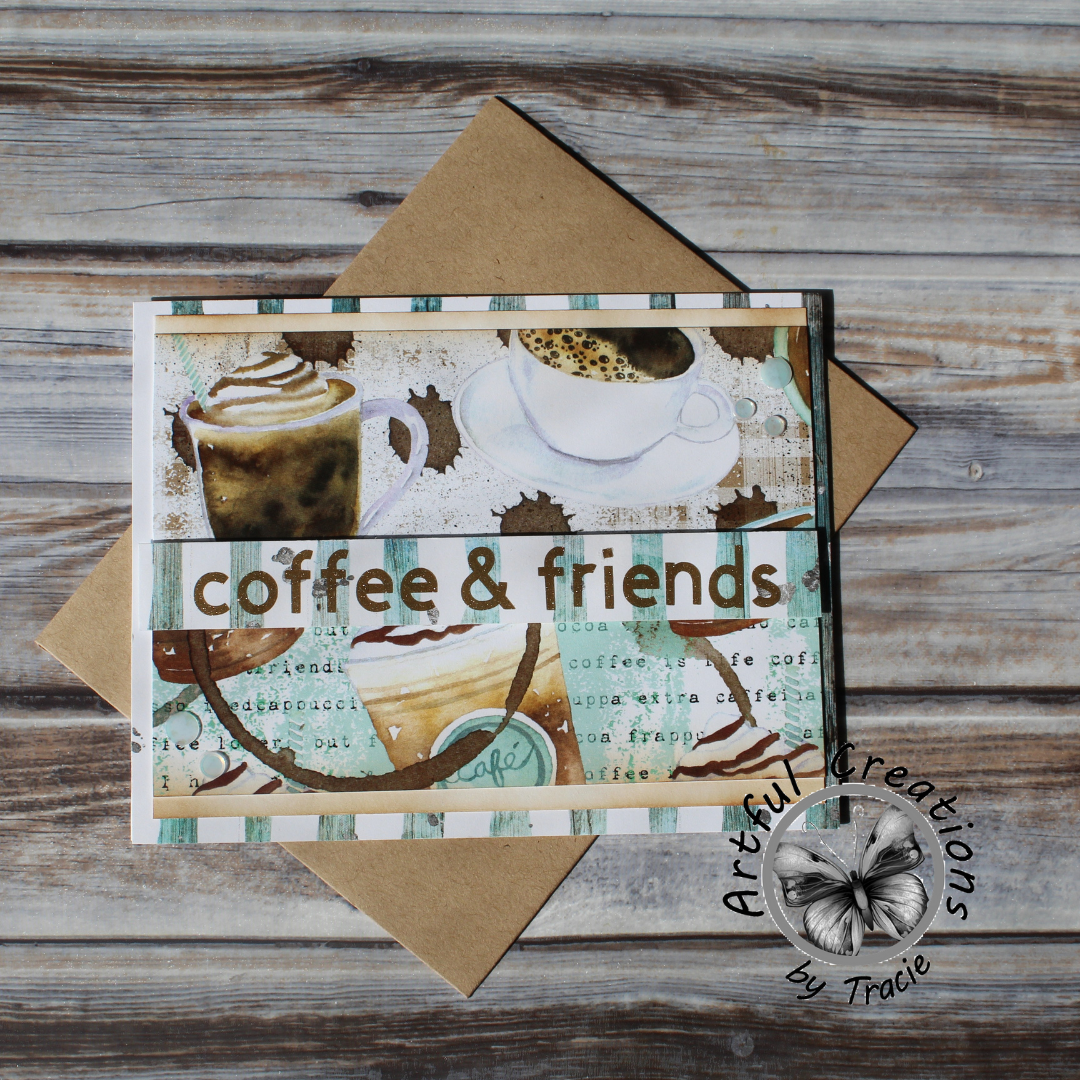
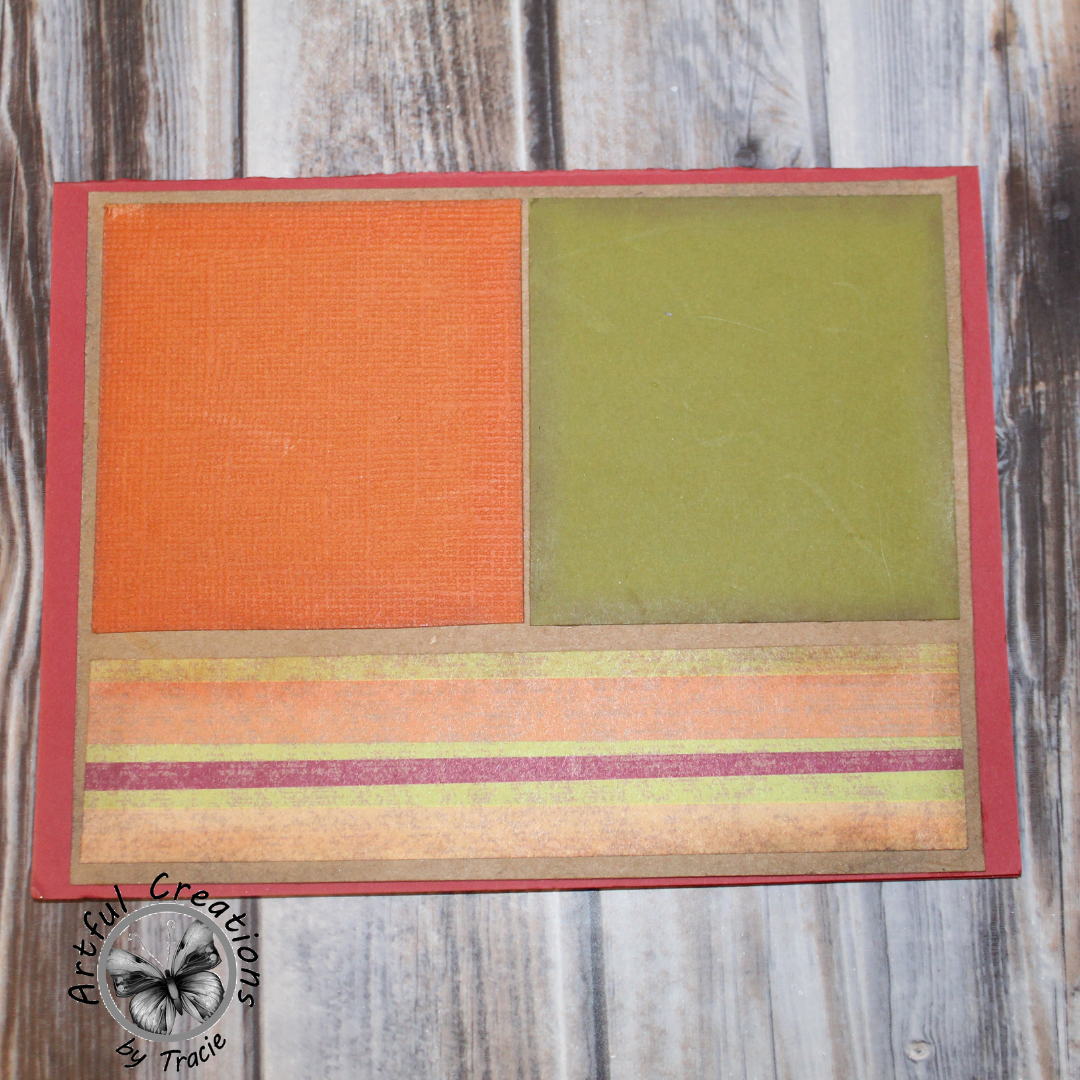
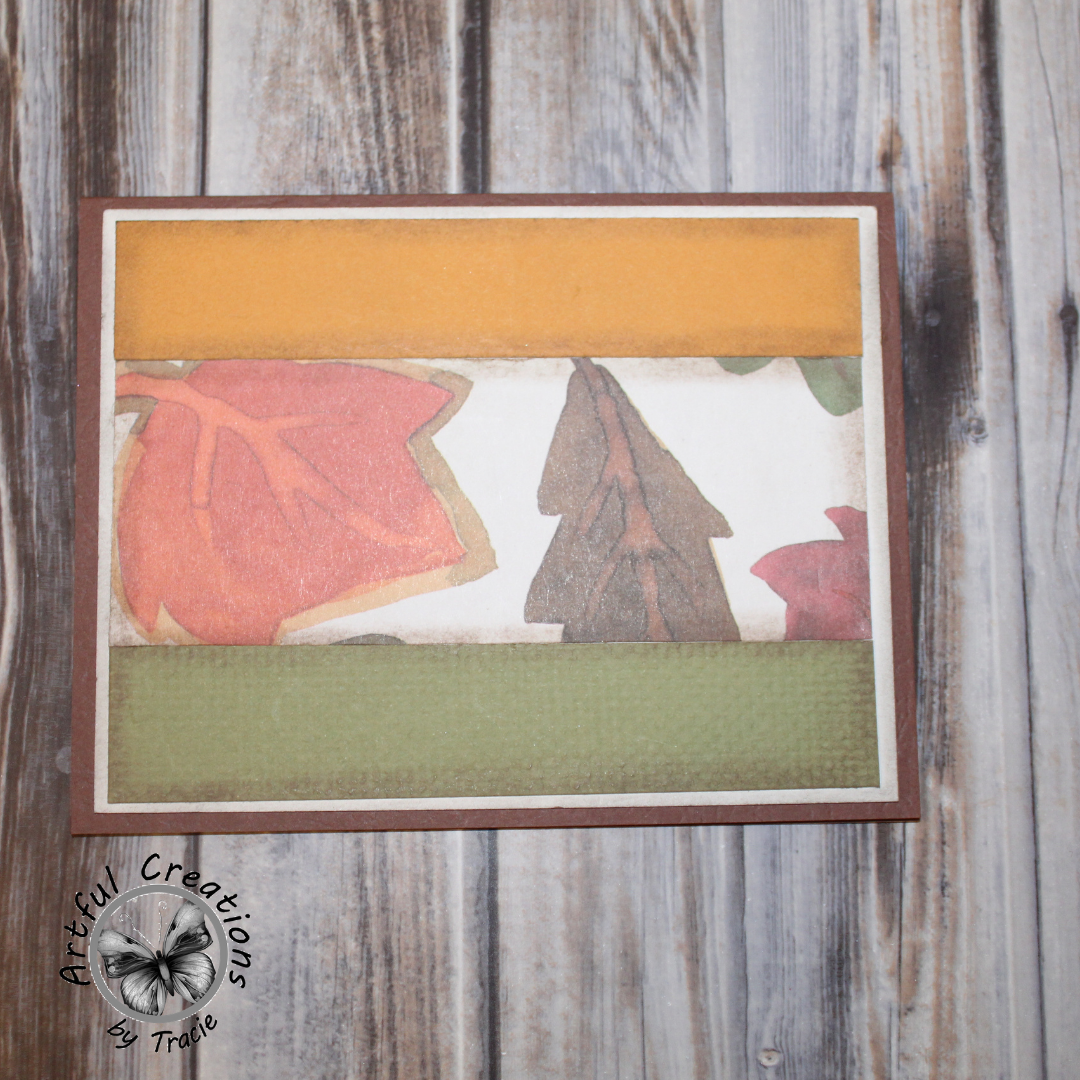
For my last two cards I decided to use that white card front and build upon it. Using the same technique for that last card above, again I barely needed to cut my cardstock, just a few trims here and there. For the last card, it was almost magical! I grabbed the pattern paper and thought it would look perfect down the middle, there was an golden color strip already ready to go, the width was perfect for one side. I had a nice green cardstock that all I needed to do was trim the width as the length was the perfect fit, a trim for them all to fit the card front and there was my sixth card front.  


.
Before mounting these down I used my Pebbles Classic Chalks to chalk all the edges of each piece of paper and then glued them down to the card front and then onto their respective card bases.  Because I choose to use all colored card bases, I then used 4"x5x25" white Neenah 80 lbs cardstock for the inside that I chalked with these Metallic Cream Chalks, they are dreamy and pearlescent, I love the look they made!

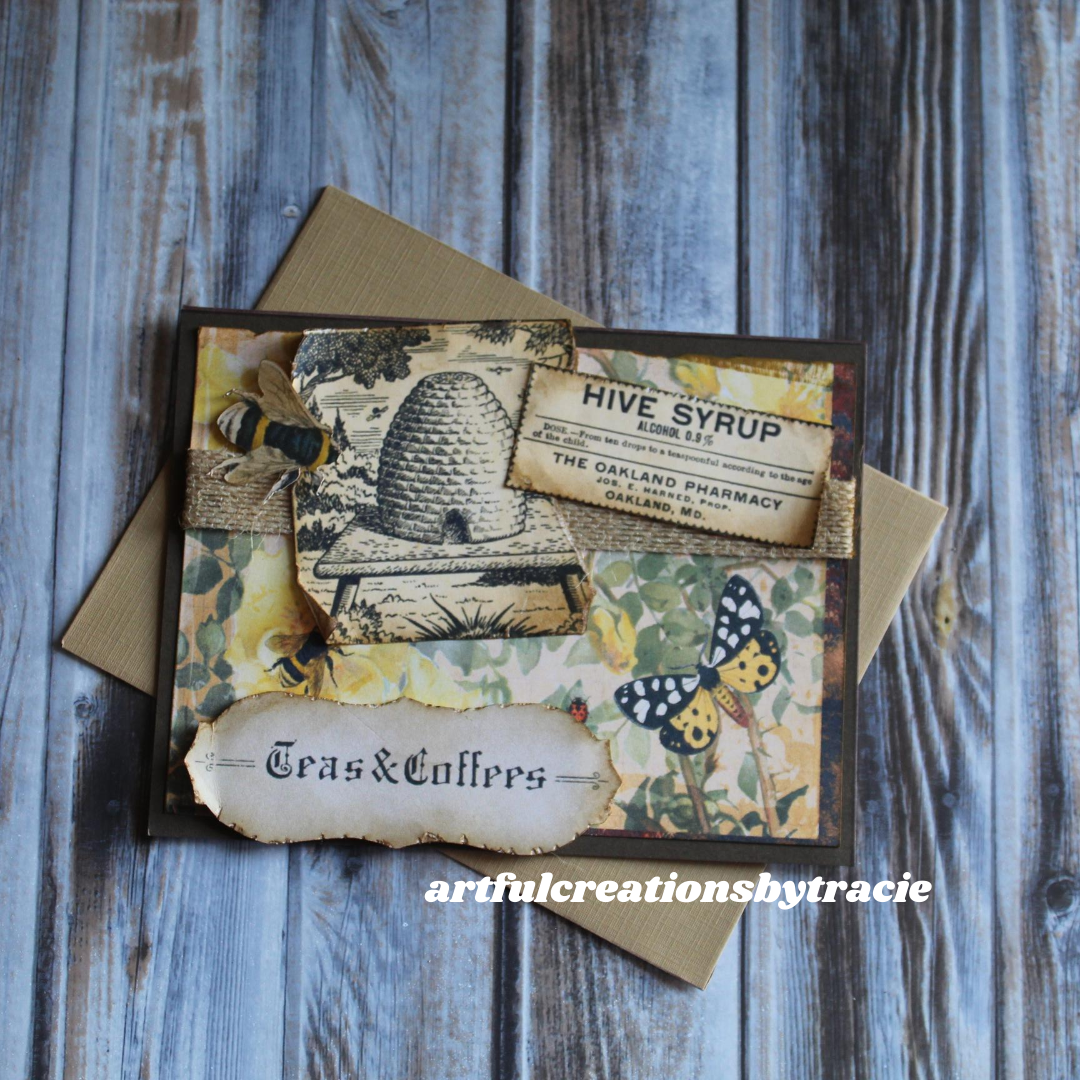
And there you have it, 6 cards ready to go for anything you need, just add your sentiments and decoration!  Color blocking is fun, easy and a great way to use up that scrap paper!  For a video tutorial on this please visit my You Tube Channel, Throwback Thursday Technique, Chalking and Color Blocking.